How to Use Hover 1 Hoverboard?
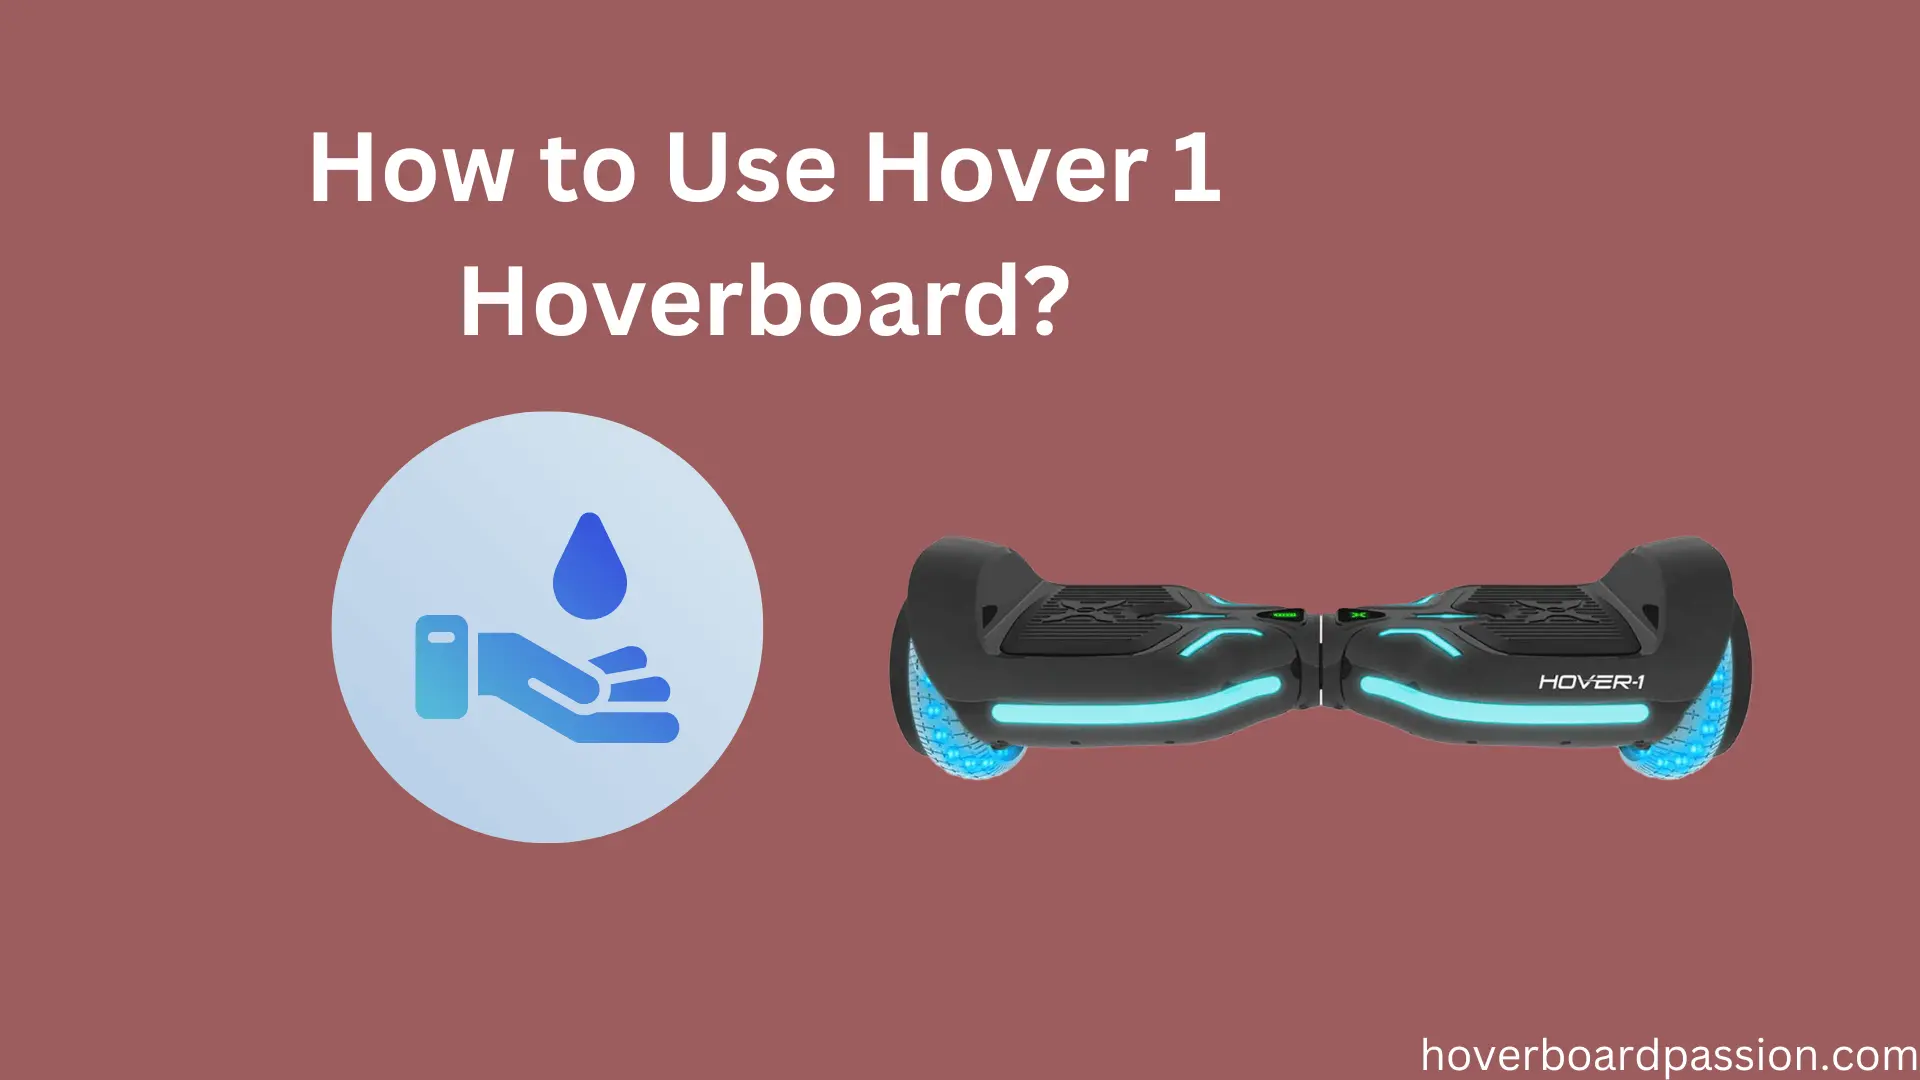
If you’re eager to learn how to ride and make the most of your Hover 1 Hoverboard, you’ve come to the right place! Hoverboards are an exciting way to zip around with ease, but mastering them requires a bit of know-how. Whether you’re a beginner or looking to improve your skills, this guide will walk you through the basics of using your Hover 1 Hoverboard safely and confidently. The topic of my article is ‘How to Use Hover 1 Hoverboard?’
From getting started with balance and control to mastering turns and tricks, we’ve got you covered. Let’s dive in and unleash the full potential of your hoverboard adventures!
Safety Measures to Use Hover 1 Hoverboard
Safety is paramount when it comes to riding a Hover 1 Hoverboard. Before embarking on your hoverboard adventure, it’s crucial to take some precautions to ensure a safe and enjoyable experience. Let’s delve into the essential steps you need to take to prepare yourself for riding.
First and foremost, always prioritize safety by wearing the right protective gear. A sturdy helmet that fits properly is a must to protect your head from potential injuries. Additionally, don’t forget to gear up with elbow pads, knee pads, and wrist guards to safeguard your limbs in case of a tumble or mishap.
Next, choose the perfect location for your ride. Opt for a smooth and flat surface free from any obstacles like rocks or cracks. Smooth pavement or concrete surfaces work best for hoverboarding as they provide better traction and control. Also, steer clear of crowded areas or busy streets to minimize the risk of accidents.
Before you set off, check your Hover 1 Hoverboard’s battery level to ensure it has enough juice for your ride. If the battery is low, take the time to recharge it fully before hitting the road. It’s also a smart idea to carry a spare battery pack or charger with you in case you need to top up during your adventure.
Now that you’re geared up and your hoverboard is ready to roll, it’s time to hit the pavement and enjoy the ride. Remember to stay alert, keep your balance, and practice proper riding techniques to stay safe and have a blast on your Hover 1 Hoverboard!
Getting Started to Use Hover 1 Hoverboard
Mastering the art of mounting and dismounting your Hover 1 Hoverboard is crucial for a smooth and enjoyable ride. Let’s dive into the step-by-step process to get started and safely hop off your hoverboard.
First things first, let’s talk about foot placement. Before you even think about mounting your hoverboard, make sure your feet are positioned correctly. Position yourself with your feet spaced shoulder-width apart and aligned in parallel. Keep them towards the outer edges of the hoverboard for better stability. Avoid angling your feet too much inward or outward, as it can throw off your balance.
Now, onto mounting your hoverboard. Follow these simple steps:
- Find a level surface with plenty of space around you.
- Stand next to your hoverboard with one foot on the ground and the other ready to mount.
- Use the foot on the ground to push off gently, gliding smoothly onto the footpad of the hoverboard.
- As you place your second foot on the hoverboard, shift your weight evenly onto both feet.
- Keep your body centered and engage your core muscles to maintain balance.
When it’s time to dismount, follow these steps for a safe landing:
- Gradually reduce pressure on the footpads to slow down your hoverboard.
- Shift your weight slightly towards your dominant foot.
- With a gentle push from your dominant foot, step off the hoverboard.
- Land with both feet simultaneously, maintaining your balance.
Remember, practice makes perfect! Start in a safe, open area away from obstacles until you feel confident. By paying attention to your foot placement and following these guidelines, you’ll be cruising around on your Hover 1 Hoverboard like a pro in no time!
Mastering the Basics of Hover 1 Hoverboard
Mastering the fundamentals of balancing and maneuvering is key to becoming a proficient rider on your Hover 1 hoverboard. These skills not only ensure your safety but also enhance your overall hoverboard experience. Let’s delve into some essential techniques to help you find your balance, control your speed and direction, and perfect your turns and swivels.
To begin with, let’s focus on finding your center of balance. Stand with your feet shoulder-width apart on a flat surface and feel how your body adjusts to maintain stability. Shift your weight slightly forward and backward to understand where your center of balance lies. Strive to keep your body upright and balanced when riding your hoverboard.
Once you’ve mastered balancing, it’s time to learn how to control your speed and direction. To move forward, lean gently forward by shifting your body weight towards the front of the hoverboard. The more you lean, the faster you’ll accelerate. To slow down or stop, gradually shift your weight backward, applying pressure on your heels. Remember to maintain a steady center of balance throughout.
Turning with your hoverboard requires finesse and practice. For gentle turns, shift your weight towards the direction you want to go. To make sharper turns, use your toes and ankles to pivot, directing the hoverboard where you want to go. Start with wide turns and gradually progress to tighter ones as you gain confidence in your maneuvering skills.
Now, let’s focus on practicing turns and swivels to enhance your agility on the hoverboard. Find an open area devoid of obstacles to practice. Experiment with different foot positions and weight distributions to discover what feels most comfortable and effective for you. Practice turning around by transferring your weight from one foot to the other while keeping steady. This exercise will improve your ability to handle various riding scenarios confidently.
With dedication and practice, you’ll soon master the art of balancing and maneuvering on your Hover 1 hoverboard, unlocking endless possibilities for thrilling rides and adventures. Keep honing your skills, and remember, safety always comes first!
Exploring Advanced Techniques: Tricks And Riding Styles
Now that you’ve mastered the basics of riding your Hover 1 hoverboard, it’s time to explore some advanced techniques, tricks, and riding styles to take your hoverboarding experience to the next level. In this guide, we’ll delve into exciting maneuvers and styles that will impress your friends and elevate your skills.
Let’s start with some cool tricks you can try on your hoverboard. One popular trick is the 360-degree spin, where you rotate your body and hoverboard in a full circle while maintaining your balance. Another impressive trick is the manual, where you ride on just one wheel of the hoverboard while keeping the other elevated off the ground. You can also experiment with jumping tricks like the ollie or kickflip, adding flair to your riding style.
As you explore advanced techniques, it’s essential to discover your preferred riding style. Are you drawn to freestyle riding, where you focus on performing tricks and stunts? Or perhaps you’re more interested in cruising and exploring urban landscapes? There’s also off-road riding for those who love tackling rugged terrain and exploring nature trails. Find your niche and tailor your hoverboarding experience to suit your interests and preferences.
To master advanced techniques and riding styles, consistent practice is key. Set aside dedicated time to hone your skills and try out new maneuvers. Start by mastering one trick at a time before moving on to more complex combinations. Don’t be afraid to challenge yourself and push your limits – that’s how you’ll continue to grow as a hoverboard rider.
Safety should always remain a top priority, especially when attempting advanced tricks and maneuvers. Wear proper protective gear, including a helmet, knee pads, and wrist guards, to minimize the risk of injury. Always practice in a safe environment away from traffic and obstacles, and be mindful of your surroundings at all times.
By exploring advanced techniques, tricks, and riding styles, you’ll unlock new possibilities and experiences on your Hover 1 hoverboard. Embrace the thrill of pushing your limits and expressing your creativity through hoverboarding – the sky’s the limit! You should also know: Do Hoverboards Read Your Brain?
Conclusion
In conclusion, mastering the art of riding a Hover 1 Hoverboard opens up a world of excitement and adventure. With practice and dedication, you can explore advanced techniques, tricks, and riding styles while prioritizing safety at all times. So, gear up, embrace the thrill, and let your hoverboarding journey take you to new heights of fun and excitement!
