How to Charge Hover 1 Hoverboard?
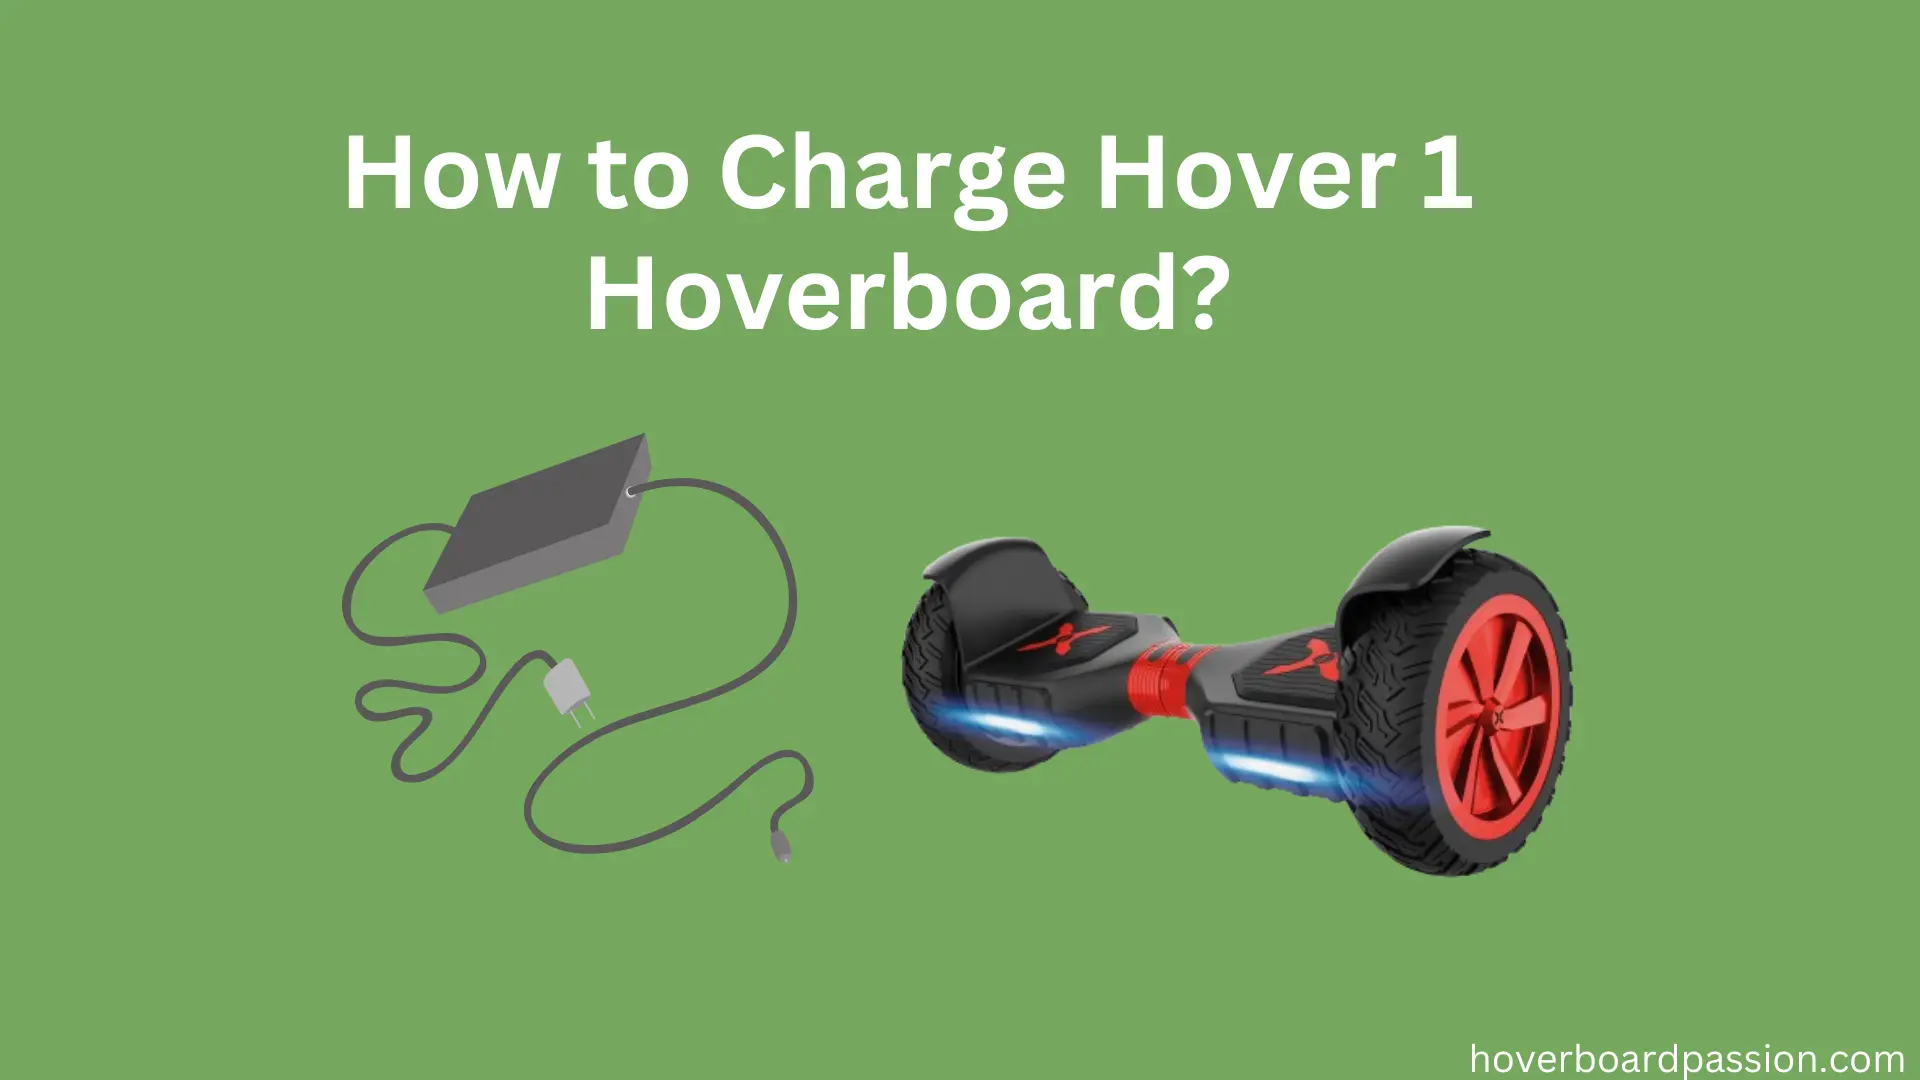
Charging up your Hover 1 Hoverboard is as easy as pie! Just grab the charger that came with it, find the charging port on your hoverboard, and plug it in. Then, pop the other end of the charger into any power outlet. It’s like giving your hoverboard a quick snack to keep it energized!
If you’re new to the world of hoverboards and wondering how to keep yours juiced up, fret not! I’ve got you covered. Let’s walk through the simple steps to charge your hoverboard so you can hit the pavement with confidence. With this guide, you’ll never have to worry about running out of power mid-ride again. So, let’s get started and make sure your Hover 1 Hoverboard is always raring to go!
Understand Hover 1 Hoverboard Battery
Hoverboards have taken the world by storm, offering a fun and eco-friendly way to zip around town. Among the top contenders in the hoverboard arena is the Hover 1 Hoverboard, renowned for its sleek design and top-notch performance. But to truly make the most of your hoverboard adventures, it’s essential to understand what powers it – the battery. Let’s dive into the world of Hover 1 Hoverboard batteries, exploring their various types, capacities, and how to keep them in tip-top shape.
Battery Types and Models
When it comes to hoverboard batteries, there are a couple of key distinctions to be aware of. First up, we have the built-in battery. This type is neatly tucked away within the hoverboard’s frame, giving it that seamless look. Built-in batteries come with a fixed capacity and are charged directly using a power adapter or USB cable. However, once these batteries reach the end of their lifespan, they can’t be swapped out, so proper care is crucial.
On the flip side, we have a replaceable battery. As the name suggests, these batteries can be easily removed and replaced. This feature not only extends the lifespan of your hoverboard but also allows for hassle-free battery swaps. Plus, if you’re planning a long journey, you can carry spare batteries for uninterrupted fun. Just remember to double-check compatibility before buying a replacement battery.
Understanding Your hoverboard’s battery type is essential for keeping it running smoothly. Now, let’s dive deeper into battery capacity and performance.
Battery Capacity and Performance
The battery capacity of your Hover 1 Hoverboard dictates how far it can go on a single charge. This capacity is measured in milliampere-hours (mAh). Generally, the higher the mAh value, the longer your hoverboard will last on a single charge. While capacities can vary across different models, you can typically expect anything from 2000mAh to 4000mAh.
But here’s the thing – battery performance isn’t just about capacity. It’s also affected by factors like your weight, the terrain you’re riding on, how fast you’re going, and even the weather. To keep your hoverboard running smoothly, make sure to charge it fully and avoid letting it completely drain before recharging. Regular maintenance checks are also essential for keeping your battery healthy and ensuring consistent performance.
By understanding the ins and outs of your Hover 1 Hoverboard battery, you can enjoy countless hours of thrilling rides with peace of mind.
How to Charge Hover 1 Hoverboard?
Keeping your Hover 1 hoverboard charged up is key to ensuring non-stop fun on your rides. But before you can rev up for your next adventure, you need to know how to connect your hoverboard to the charger like a pro. No need to fret – rest assured, we’ve got you covered with this straightforward manual.
Step 1: Pinpointing the Charging Port
First things first, you need to find where your hoverboard’s charging port hides. Typically, it’s nestled on the underside of your hoverboard near the wheels. You’ll notice it’s shielded by a rubber flap, keeping it safe from dirt and moisture. Gently peel back that flap to unveil the charging port.
Step 2: Locking in the Charger
Now that you’ve located the charging port, it’s time to grab your charger. Make sure it matches your Hover 1 hoverboard model. With a steady hand, plug the charger’s connector into the charging port. Give it a firm but gentle push to ensure it’s snugly in place. Alignment is crucial here – you don’t want to risk any damage by forcing it.
Step 3: Double-Checking the Connection
Before you hit that charging button, take a moment to inspect the connection. Ensure there are no loose ends or signs of damage. Wiggle the charger slightly to make sure it’s securely fastened to the port. This quick check will save you from any charging hiccups down the road.
If you’re feeling unsure about the connection, don’t hesitate to give it another once-over. It’s better to be safe than sorry. And remember, a few extra seconds now can save you a headache later.
By following these simple steps and confirming that all are connected well, you’ll be on your way to charging up your Hover 1 hoverboard hassle-free. So, gear up, plug in, and get ready for endless hours of hoverboard fun!
Tips to Charge Hover 1 Hoverboard Safely
Safely charging your Hover 1 Hoverboard is crucial for both your safety and the longevity of your device. Here are some essential tips to ensure a safe charging experience:
- Use the Right Charger: Always use the charger that comes with your Hover 1 Hoverboard or a compatible replacement recommended by the manufacturer. Using the wrong charger can damage your hoverboard’s battery and pose a safety risk.
- Check for Damage: Before plugging in your hoverboard, inspect both the charger and the hoverboard for any signs of damage. Look for frayed wires, cracks, or other visible defects. Do not use a damaged charger or hoverboard.
- Charge in a Safe Location: Choose a flat, stable surface to charge your hoverboard, away from flammable materials and direct sunlight. Avoid charging near water or other liquids, as this can pose an electrocution hazard.
- Monitor While Charging: Keep an eye on your hoverboard while it’s charging. If you notice any unusual heat, smoke, or strange noises, immediately unplug the charger and remove the hoverboard from the charging area.
- Avoid Overcharging: After your hoverboard is completely charged, disconnect it from the charger. Keeping it plugged in too long can harm the battery and reduce how long it lasts. Most hoverboards have an indicator light that changes color when fully charged.
- Follow Manufacturer’s Instructions: Read and follow the charging instructions provided by the manufacturer in the user manual. This will ensure you’re charging your hoverboard correctly and safely.
- Let it Cool Down: If your hoverboard feels hot after use, allow it to cool down before charging. Charging a hot hoverboard can lead to battery damage and safety hazards.
- Don’t Leave Unattended: While charging, never leave your hoverboard unattended. In the event of a malfunction or battery issue, you’ll want to be present to address it immediately.
- Store Properly: When not in use, store your hoverboard and charger in a cool, dry place. Avoid extreme temperatures and humidity, as these can affect the battery’s performance and safety.
- Regular Maintenance: Perform regular maintenance checks on your hoverboard, including cleaning the charging port and inspecting the battery for any signs of wear or damage. Address any issues promptly to ensure safe charging in the future.
By following these tips, you can charge your Hover 1 Hoverboard safely and enjoy countless hours of fun on your rides. You should also know: Does Hover 1 Hoverboard Have Bluetooth?
Conclusion
In conclusion, charging your Hover 1 Hoverboard safely is essential for a fun and worry-free riding experience. By following the manufacturer’s instructions, using the right charger, and monitoring the charging process, you can ensure both your safety and the longevity of your hoverboard. Remember to always inspect your hoverboard and charger for damage, charge in a safe location, and avoid overcharging. With these precautions in mind, you can confidently charge your hoverboard and embark on thrilling adventures with peace of m
