How to Calibrate Jetson Hoverboard?
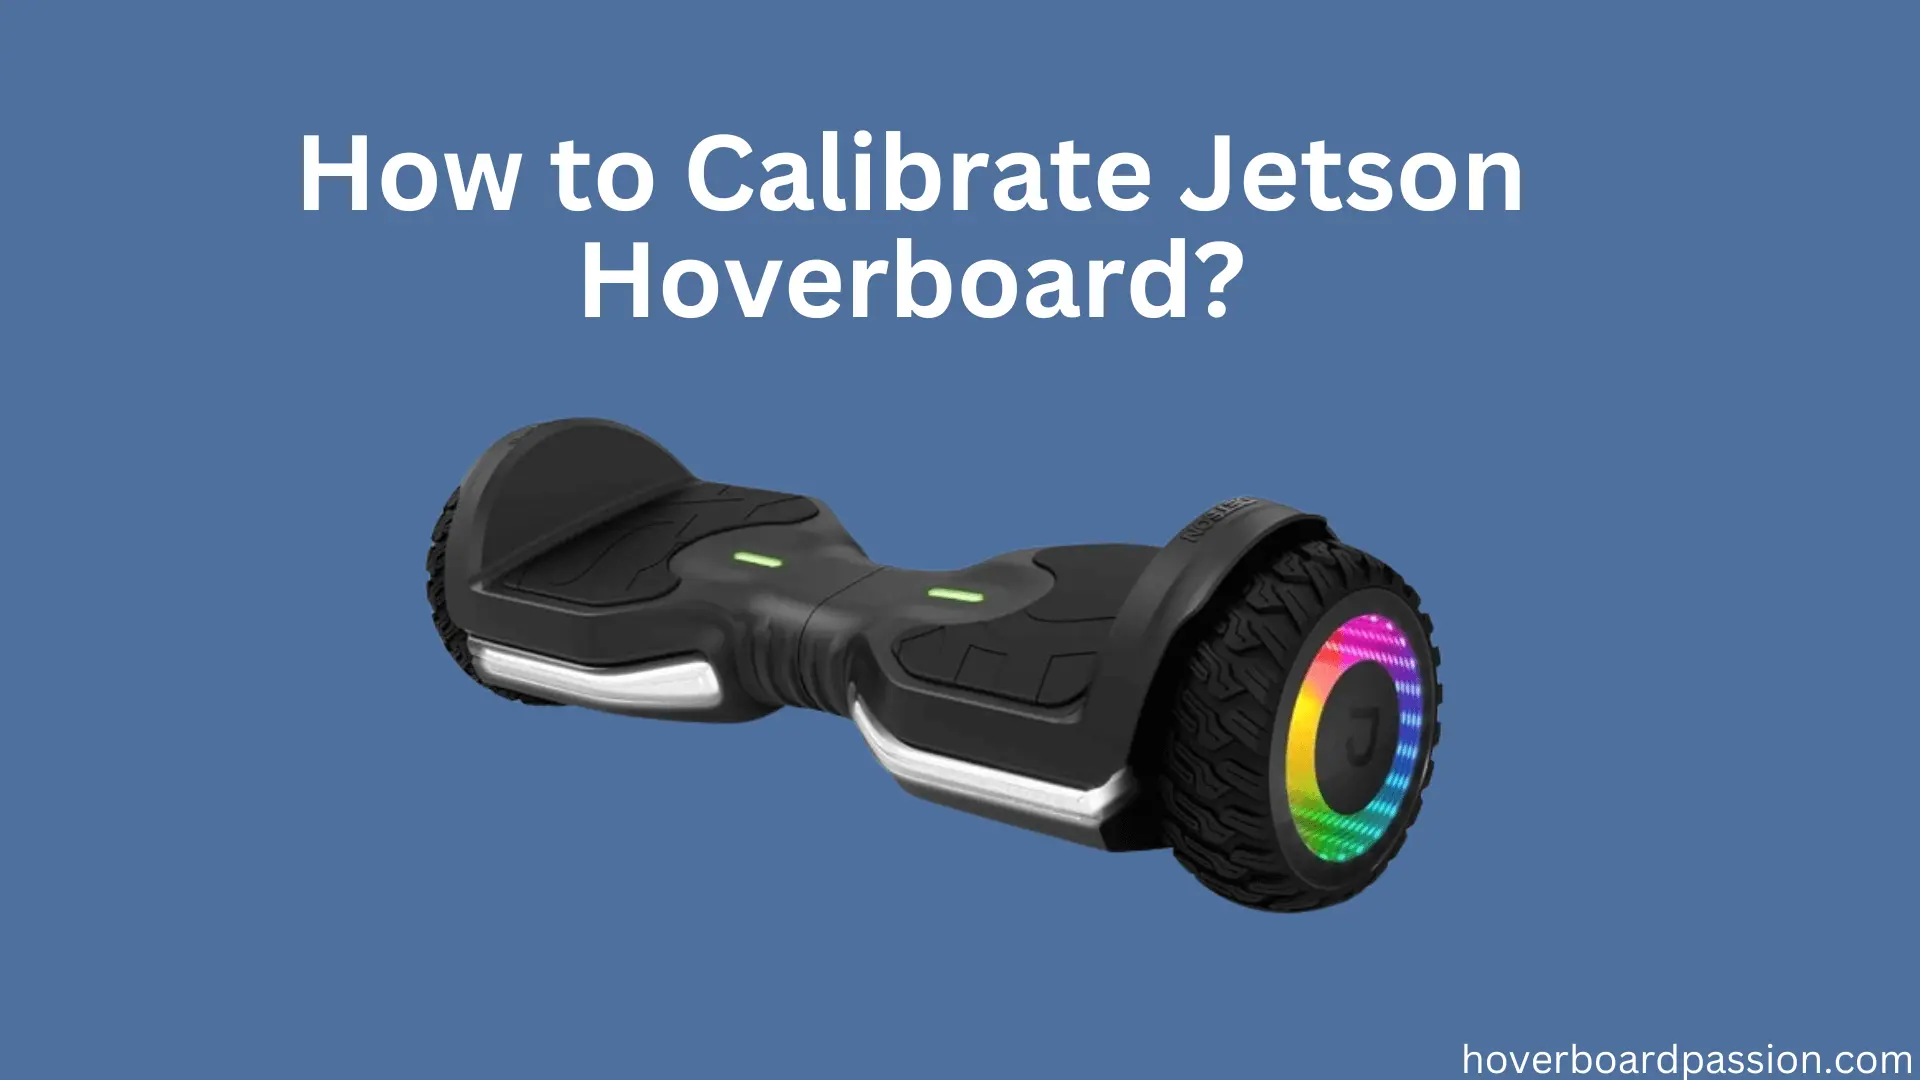
To properly calibrate your Jetson hoverboard, it’s important to start on a flat surface. Begin by turning on the hoverboard and checking that the indicator lights are lit up. Then, press and hold both the power button and the LED button at the same time until you see the indicator lights begin to flash.
Once you notice the flashing lights, you can let go of both buttons. At this point, the hoverboard will automatically recalibrate itself. This calibration process is crucial for ensuring that your hoverboard functions correctly and stays stable while you ride it. It helps the hoverboard realign its internal sensors, ensuring precise movement and control.
Following these straightforward steps, you will know how to calibrate Jetson hoverboard. Our guide offers clear and concise instructions to help you through the calibration process, ensuring that you can enjoy a smooth and balanced ride every time you use your hoverboard. Let’s dive into the instructions and get your hoverboard calibrated for optimal performance in just a few simple steps.
Understanding the Calibration Process
Calibrating your Jetson hoverboard might sound complicated, but it’s quite simple once you grasp the concept. Calibration is like giving your hoverboard a tune-up to ensure it runs smoothly and stays balanced while you ride.
Imagine your hoverboard as a smart device that needs to understand its surroundings to move correctly. Just like how you need to recalibrate a compass to point north accurately, your hoverboard needs to adjust its internal sensors to know how to move in the right direction.
When you place your hoverboard on a flat surface and turn it on, it’s like waking it up from a nap. The indicator lights let you know it’s ready to go. Pressing and holding the power button and LED button simultaneously is like telling your hoverboard, “Hey, let’s get aligned!” When the lights start flashing, it’s like your hoverboard saying, “Okay, I’m recalibrating now.”
Releasing the buttons tells your hoverboard it can stop recalibrating because it’s finished adjusting itself. Now, it’s ready to give you a smooth ride. This calibration process is crucial because it helps your hoverboard understand its environment better, ensuring it moves accurately and stays stable while you ride.
So, understanding calibration is like understanding how to help your hoverboard stay in top shape. It’s a simple process that ensures you enjoy a safe and enjoyable ride every time you hop on your Jetson hoverboard.
Preparing for Calibration
Getting ready to calibrate your Jetson Hoverboard involves a few important steps to ensure everything goes smoothly. First off, you’ll want to make sure you’re safe and equipped with what you need. Plus, finding the calibration button or switch is key. Let’s delve into each of these steps to help you prep for calibrating your hoverboard.
Safety First and Necessary Equipment
Before diving into calibration, it’s crucial to think about safety.
- Safety Gear: Wear gear like a helmet, knee pads, and elbow pads to stay safe in case of any accidents.
- Right Spot: Find a spacious area with a flat surface. This reduces the chance of accidents.
- Power Off: Make sure your hoverboard is turned off and not connected to any power source before you start calibration.
Equipment you’ll need:
Equipment Needed Description
- Screwdriver: You might need a screwdriver to access the calibration button or switch. Ensure you have the right type and size for your hoverboard model.
- Clean Cloth: Having a clean cloth handy helps remove dust or debris that could interfere with calibration.
Spotting the Calibration Button or Switch
Each hoverboard model has its design, so finding the calibration button or switch might vary. Here’s how to do it on your Jetson Hoverboard:
- Locate the Power Button: Look for the power button, usually on the front or side of your hoverboard.
- Check Around: See if there are any other buttons or switches near the power button.
- Get Guidance: If you’re unsure, consult your hoverboard’s manual or the manufacturer’s website for specific instructions.
Once you’ve found the calibration button or switch, you’re ready to move on to the next step: calibrating your Jetson Hoverboard. We will assist with the procedure in the upcoming segment.
How to Calibrate Jetson Hoverboard?
Step 1: Activating Your Hoverboard
Before you can embark on an adventure with your Jetson Hoverboard, it’s essential to start with proper calibration. The first step? Turn on your hoverboard. Let’s walk through the process to kickstart your hoverboard journey smoothly.
Ensuring the Power Switch is Off
Before powering up, ensure the hoverboard’s switch is in the off position. Find the power switch, often located on the hoverboard’s side or back. It should default to the “O” or “Off” position.
Pressing the Power Button to Activate
Once you’ve checked the power switch, press and hold the power button. You’ll typically find this near the power switch or on the hoverboard’s surface. Hold it for a few seconds until you see the LED lights illuminate, indicating your hoverboard is ready to go.
By following these steps, you’ve successfully activated your Jetson Hoverboard. Now, let’s move on to the next steps to calibrate your hoverboard for an optimal riding experience. You should also know are Hover 1 hoverboards waterproof.
Step 2: Entering Calibration Mode
To ensure your Jetson Hoverboard performs its best, you need to engage in calibration mode. This essential step fine-tunes your hoverboard’s balance and operation. Here’s how to do it:
Locating the Calibration Button or Switch
Initially, locate the calibration button or switch on your Jetson Hoverboard. Its location may vary, but it’s typically near the power button or underneath the hoverboard. Take a good look to find it.
Activating Calibration Mode
Once you’ve found the calibration button or switch, make sure your hoverboard is turned off for safety. Then, press and hold the calibration button or switch. After a few seconds, you’ll see the LED lights start to blink, indicating calibration mode is on. Release the button or switch, and you’re ready to calibrate.
It’s crucial to activate calibration mode correctly for precise adjustments. Please ensure to carefully follow the instructions and take the necessary time to complete the task.
Now that you’ve entered calibration mode, let’s move on to balancing your hoverboard for a smooth ride.
Step 3: Achieving Balance
After turning on and calibrating your Jetson Hoverboard, it’s time to ensure it’s balanced for a safe and enjoyable ride. Balancing the hoverboard properly is key. Here’s how to do it:
Placing the Hoverboard on a Flat Surface
Start by placing your hoverboard on a flat, level surface. This helps the sensors detect your movements accurately, ensuring stability during your ride. Follow these steps:
- Find a smooth area free of obstacles.
- Check for level ground using a spirit level or by eye.
- Position the hoverboard parallel to the ground, ensuring both sides are level.
- Check alignment visually to avoid leaning to one side.
Now that your hoverboard is positioned correctly, let’s use your body weight to maintain balance.
Using Body Weight for Balance
Stand with your feet shoulder-width apart near the hoverboard’s center for better control. Keep relaxed and lean slightly forward to accelerate, backward to slow down, or to turn, shift your weight to the side you want to go.
Practice makes perfect, so spend time getting comfortable with how your movements affect the hoverboard’s balance and control.
Step 4: Initiating Calibration
Proper calibration of your Jetson Hoverboard is essential for optimal performance and safety. Let’s initiate the calibration process:
Holding the Calibration Button or Switch
Locate the calibration button or switch and press and hold it for the specified duration, as per your user manual. This ensures accurate calibration and optimal performance.
Waiting for Calibration Signals
After holding the button or switch, wait for the hoverboard to emit a beep or flashlight, indicating it’s calibrating. Be patient, as the duration may vary depending on your hoverboard model.
By following these steps, you’ve successfully initiated calibration on your Jetson Hoverboard, ensuring it’s ready for a smooth ride.
Step 5: Finalizing Calibration
Completing the calibration process is crucial for your Jetson Hoverboard’s optimal performance. Let’s wrap it up:
Following Manufacturer’s Instructions
Pay attention to any additional instructions provided by the manufacturer for your specific model. These ensure correct calibration, enhancing performance and safety.
Turning Off Calibration Mode and Hoverboard
Switch off calibration mode as instructed, then turn off your hoverboard completely. This ensures your settings are saved and prevents accidental activation when not in use.
By completing these final steps, your Jetson Hoverboard is calibrated and ready for an exciting ride.
Always refer to your manufacturer’s instructions for specific details on calibration and safety guidelines. You’ll enjoy a thrilling and safe ride every time with proper calibration and care.
Troubleshooting Calibration Issues
Encountering issues during the calibration process of your Jetson Hoverboard can be frustrating, but don’t worry; we’ve got you covered. Below are a few typical issues you may face and methods to solve them:
Hoverboard Not Responding to Calibration Commands
If your hoverboard doesn’t seem to respond when you try to calibrate it, here’s what you can do:
- Check the power supply: Ensure your hoverboard has enough battery power to initiate the calibration process. If the battery is low, charge it fully before attempting calibration.
- Verify the button or switch: Make sure you’re pressing the correct calibration button or switch. Refer to your hoverboard’s user manual or manufacturer’s instructions to confirm the location.
- Restart the hoverboard: Turn off your hoverboard, wait for a few minutes, and then turn it back on.
Hoverboard Calibration Seems Inaccurate
If you’ve completed the calibration process, but your hoverboard still feels unbalanced or doesn’t respond correctly, try these troubleshooting steps:
- Recalibrate: Sometimes, calibration needs to be repeated to achieve the desired results. Follow the calibration process again, ensuring you follow each step precisely.
- Check for obstacles: Make sure no obstacles or debris are interfering with the hoverboard’s sensors. Clean the surface of the hoverboard and the area where you’re calibrating to ensure optimal sensor performance.
- Perform a factory reset: If recalibration doesn’t solve the issue, you may need to perform a factory reset on your hoverboard. Consult your user manual for guidance on resetting your particular model.
Hoverboard Shows Error Codes
If your hoverboard displays error codes during calibration, here’s what you can do:
- Refer to the user manual: Error codes usually come with specific meanings. Consult your hoverboard’s user manual to identify the error code and follow the recommended troubleshooting steps.
- Contact customer support: If you’re unable to resolve the issue on your own, reach out to the manufacturer’s customer support for assistance. They can provide personalized troubleshooting guidance or arrange for repairs if necessary.
Remember, troubleshooting calibration issues may require patience and persistence. By following these steps and staying calm, you’ll likely be able to resolve any problems and enjoy a properly calibrated Jetson Hoverboard for your next adventure.
Conclusion
In conclusion, calibrating your Jetson Hoverboard is a simple yet essential process to ensure smooth and safe riding. By following the steps outlined above and troubleshooting any issues that arise, you can optimize your hoverboard’s performance and enjoy a thrilling experience every time you ride.
Remember to refer to the user manual for specific instructions and reach out to customer support if needed. With proper calibration, you’ll be ready to embark on exciting adventures with confidence and ease.
