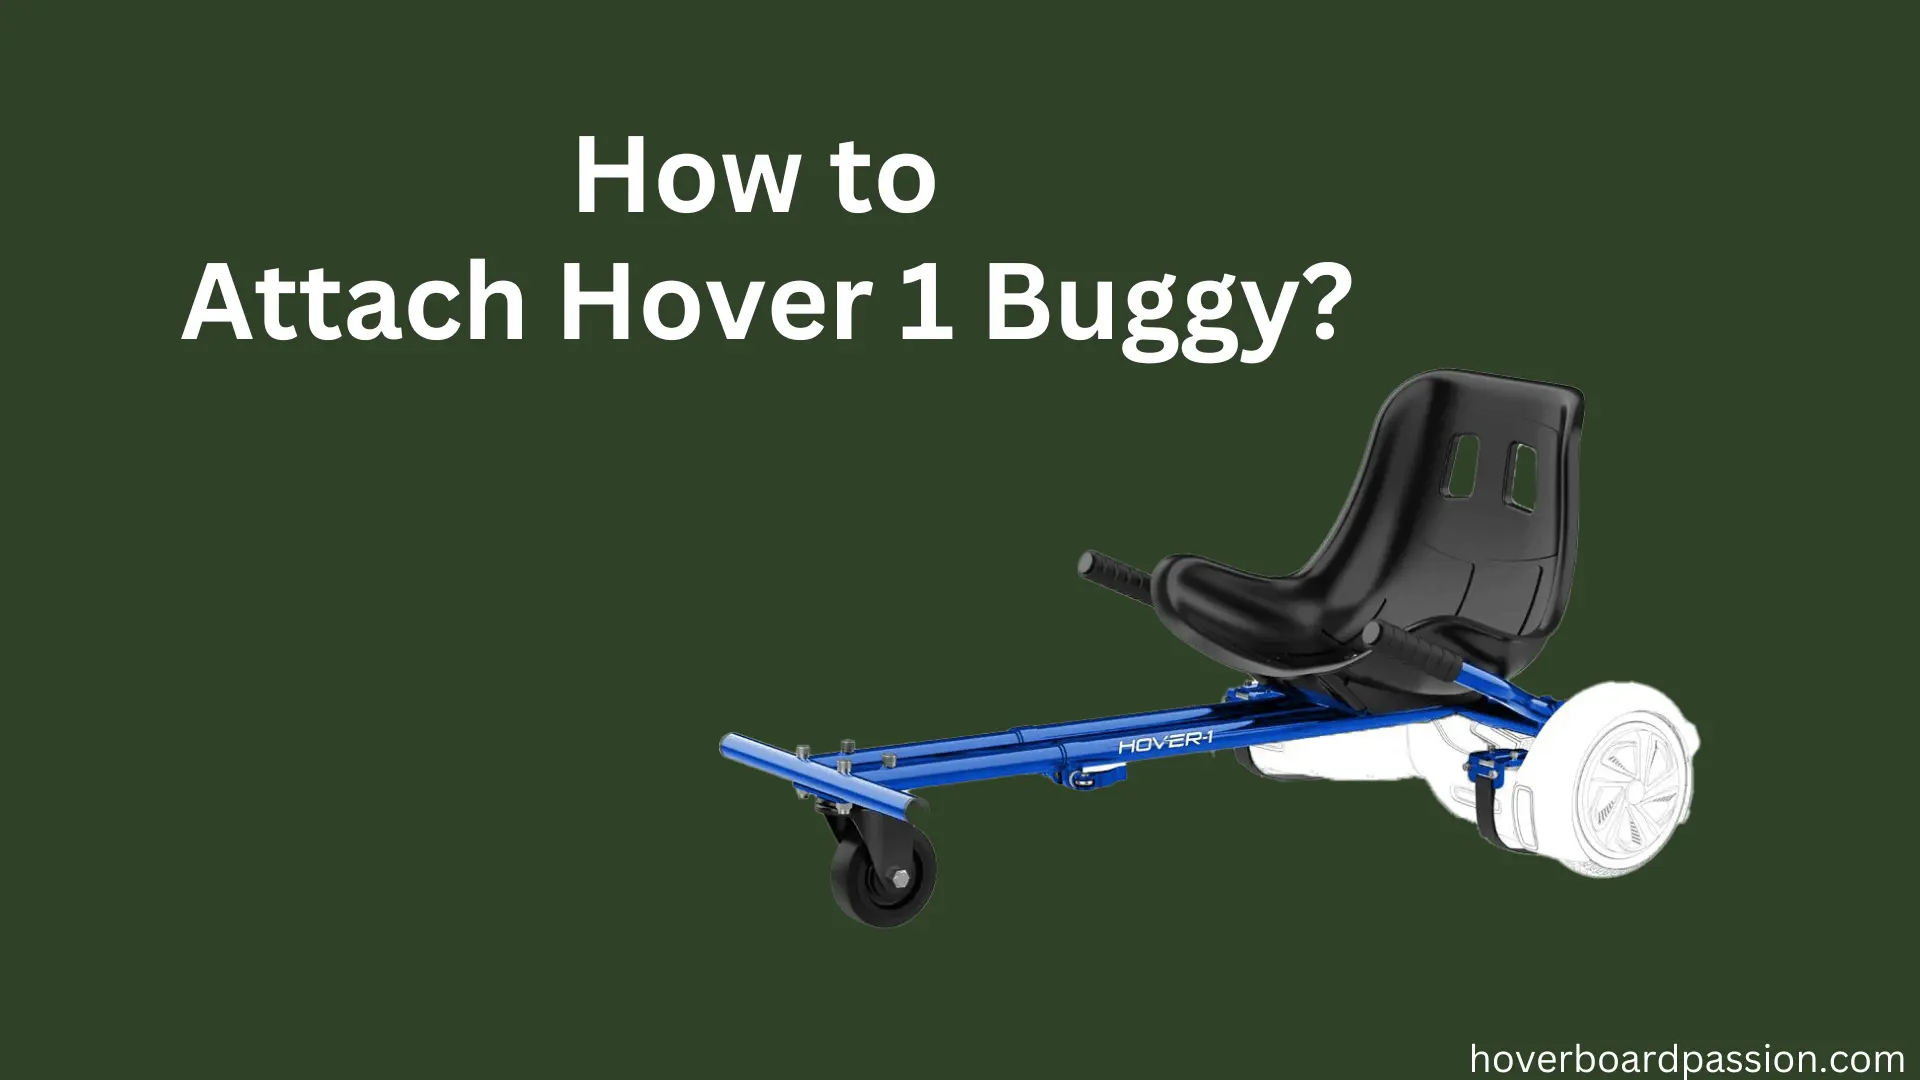
How to Attach Hover 1 Buggy?
Introducing the Hover-1 Buggy, a versatile accessory designed to transform your hoverboard into a thrilling and convenient mode of transportation. Whether you’re navigating city streets or exploring off-road terrain, the Hover-1 Buggy offers a unique riding experience that combines the agility of a hoverboard with the stability and comfort of a seated buggy. The topic of the article is ‘How to Attach Hover 1 Buggy?’
In this article, we’ll guide you through the step-by-step process of attaching the Hover-1 Buggy to your hoverboard, unlocking a new level of excitement and mobility for your adventures. From assembly to safety precautions, we’ll cover everything you need to know to get started with this innovative accessory. So, let’s dive in and learn how to harness the full potential of your hoverboard with the Hover-1 Buggy attachment.
Essential Tools for Attaching Your Hover-1 Buggy
Ensuring a safe and smooth ride with your hoverboard means properly attaching the Hover-1 Buggy. To make this happen, having the right tools is key. These tools not only make the process easier but also ensure a secure connection. Let’s explore the necessary tools for this task and why they matter.
Tools You’ll Need:
- Socket Wrench: This handy tool helps loosen and tighten nuts and bolts, essential for securing the buggy.
- Screwdriver: Use it to fasten screws and other fasteners securely.
- Allen Wrench: Perfect for adjusting and tightening specific components of your Hover-1 Buggy.
- Adjustable Wrench: A versatile tool for various tightening and adjusting tasks.
- Phillips Head Screwdriver: Ideal for screws with cross-shaped slots, ensuring a snug fit.
- Pliers: These come in handy for holding and manipulating smaller parts during assembly.
Why Having the Right Tools Matters:
Efficiency: The right tools streamline the installation process, making it quicker and easier. With them, you can access and manipulate parts efficiently, saving time and effort.
Precision: Each tool serves a specific purpose, allowing you to secure every attachment point precisely. This precision is crucial for ensuring a stable connection, and minimizing any risks while riding.
Durability: Properly tightened nuts, bolts, and screws, facilitated by the correct tools, create a stronger and more durable attachment. This reduces the likelihood of loose connections or accidents during your ride.
Safety: By following the manufacturer’s instructions accurately with the right tools, you ensure a safe attachment of the Hover-1 Buggy. This minimizes the risk of safety hazards while you’re out enjoying your ride.
Preparing Your Hover-1 Buggy for Attachment
Embarking on an adventure with your electric scooter coupled with a Hover-1 Buggy promises excitement and thrill. However, before diving into this unique transportation experience, it’s vital to ensure your Hover-1 Buggy is prepped correctly for attachment. This not only guarantees compatibility with your electric scooter but also prioritizes safety during your ride. Let’s explore the essential steps to get your Hover-1 Buggy ready for attachment.
Checking Compatibility with Your Electric Scooter
Before attaching your Hover-1 Buggy, verify compatibility between it and your electric scooter. Not all scooters can seamlessly accommodate a buggy attachment, so this step is crucial.
Start by checking weight limits. Ensure your electric scooter can bear the combined weight of the scooter, rider, and attached buggy. Consult your scooter’s manual or manufacturer guidelines for weight capacity specifications.
Next, consider dimensions and design. The Hover-1 Buggy requires a specific type of scooter base for a secure fit. Match your scooter to the recommended specifications to ensure a snug attachment and minimize instability risks during your ride.
Examining Hoverboard Safety Features
Safety is paramount when attaching a Hover-1 Buggy. Your hoverboard, serving as the base for the buggy, must have essential safety features.
Firstly, assess the frame’s strength. A robust frame provides stability and support for the attached buggy. Look for durable construction and quality materials capable of withstanding the added stress.
Check the braking system for reliability. Effective brakes are essential for maintaining control and ensuring a safe stopping distance, especially with the added weight of the buggy. Test the brakes beforehand to ensure they’re responsive and functional.
Additionally, consider built-in safety features like LED lights, fender bumpers, and anti-slip foot pads. These features enhance visibility, protect the hoverboard from damage, and offer a secure footing for the rider, enhancing overall safety.
By meticulously examining compatibility and safety features, you can confidently prepare your Hover-1 Buggy for attachment. This sets the stage for an enjoyable and secure ride, amplifying the fun and excitement of your electric scooter journey.
Step-by-Step Guide to Attaching Your Hover-1 Buggy
Get ready to attach your Hover-1 Buggy with these easy-to-follow steps. Follow along to ensure a seamless installation process for your hoverboard buggy.
Attaching the Hover-1 Buggy to your electric scooter is simple and can be completed in just a few steps. By following these instructions, you’ll be able to securely fasten the attachment to your scooter and enjoy a fun and versatile ride.
Securing the attachment properly is crucial for your safety and the smooth operation of the Hover-1 Buggy. Here’s how to do it:
- Locate the attachment points on your electric scooter, usually near the rear wheel and designed for the Hover-1 Buggy.
- Align the buggy with the scooter, ensuring the wheels of the buggy face the scooter’s back.
- Use the provided bolts to attach the buggy to the scooter by inserting them through designated holes on both devices.
- Tighten the bolts securely using a wrench or screwdriver to ensure the buggy is firmly attached, minimizing any potential movement or wobbling.
- Double-check all bolts and fastenings to ensure they’re properly tightened. Regular inspections are essential to prevent loosening or dislodgement while riding.
- Give the attachment a gentle shake to test its stability. If any parts feel loose or unstable, tighten the bolts further.
- Always follow the manufacturer’s guidelines when attaching the Hover-1 Buggy. Read and understand the provided instructions for proper installation and usage.
By following these step-by-step instructions and ensuring a secure attachment, you can confidently enjoy your electric scooter with the Hover-1 Buggy attached. Remember, safety should always come first when using attachments or modifications with your scooter.
Safety Measures to Consider While Using Hover 1 Buggy Attachment
Ensuring safety while using the Hover-1 Buggy attachment is paramount for a smooth and enjoyable riding experience. Below are several crucial safety precautions to take into account:
- Wear Protective Gear: Always wear appropriate safety gear, including a helmet, knee pads, and elbow pads, to protect yourself in case of falls or collisions.
- Follow Weight Limits: Adhere to the weight limits specified by the manufacturer for both your hoverboard and the Hover-1 Buggy attachment. Overloading can lead to instability and accidents.
- Inspect Regularly: Before each use, inspect the attachment, bolts, and fastenings for any signs of damage or wear. Replace any worn-out components immediately to maintain safety.
- Secure Attachment: Ensure the Hover-1 Buggy attachment is securely fastened to your hoverboard according to the manufacturer’s instructions. Loose attachments can cause instability and accidents.
- Practice in Safe Areas: Start by practicing in a controlled environment such as an empty parking lot or a smooth, paved area to familiarize yourself with the handling and operation of the Hover-1 Buggy.
- Avoid Hazardous Terrain: Stay away from uneven or hazardous terrain, including steep slopes, stairs, and rough surfaces, as these can increase the risk of accidents and injuries.
- Maintain Control: Always maintain control of your hoverboard and the attached buggy. Avoid sudden movements or sharp turns, especially at high speeds, to prevent loss of control.
- Observe Traffic Laws: When riding on public roads or sidewalks, obey all traffic laws and regulations applicable to pedestrians and personal mobility devices.
- Be Visible: Ensure your hoverboard and the attached buggy are equipped with reflective materials or lights to enhance visibility, especially when riding in low-light conditions or at night.
- Stay Alert: Remain attentive and vigilant while riding, keeping an eye out for obstacles, pedestrians, and other vehicles to avoid collisions and accidents.
By following these safety measures, you can minimize the risks associated with using the Hover-1 Buggy attachment and enjoy a safe and exhilarating riding experience. Always prioritize safety to make the most of your hoverboard adventures. You should also know: How to Connect Jetson Hoverboard To App?
Conclusion
In conclusion, attaching the Hover-1 Buggy to your electric scooter opens up a world of thrilling possibilities while ensuring your safety remains a top priority. By following the step-by-step instructions and implementing essential safety measures, you can confidently embark on exciting rides knowing that your attachment is securely fastened and your adventure awaits. So, gear up, follow the guidelines, and enjoy the fun-filled journey ahead with your Hover-1 Buggy attachment!